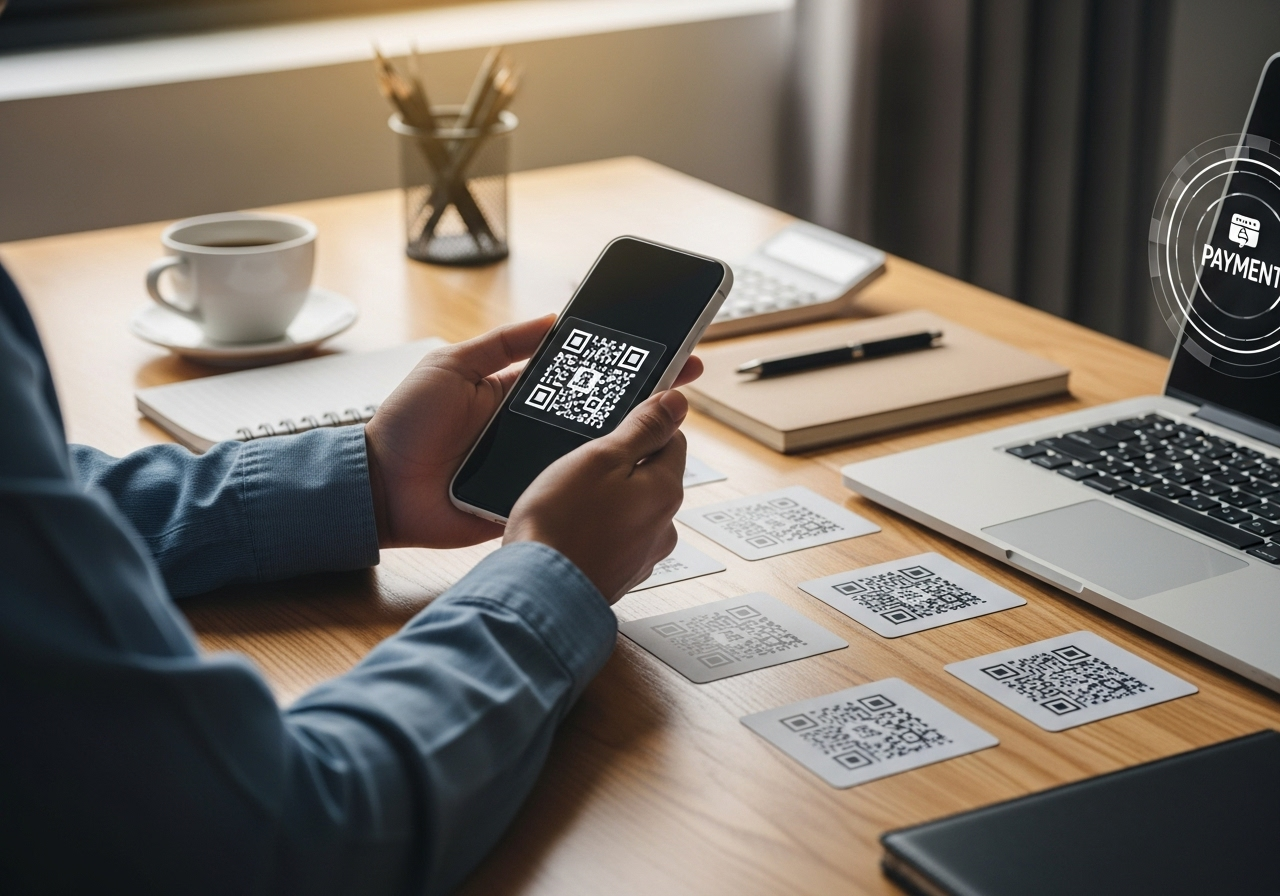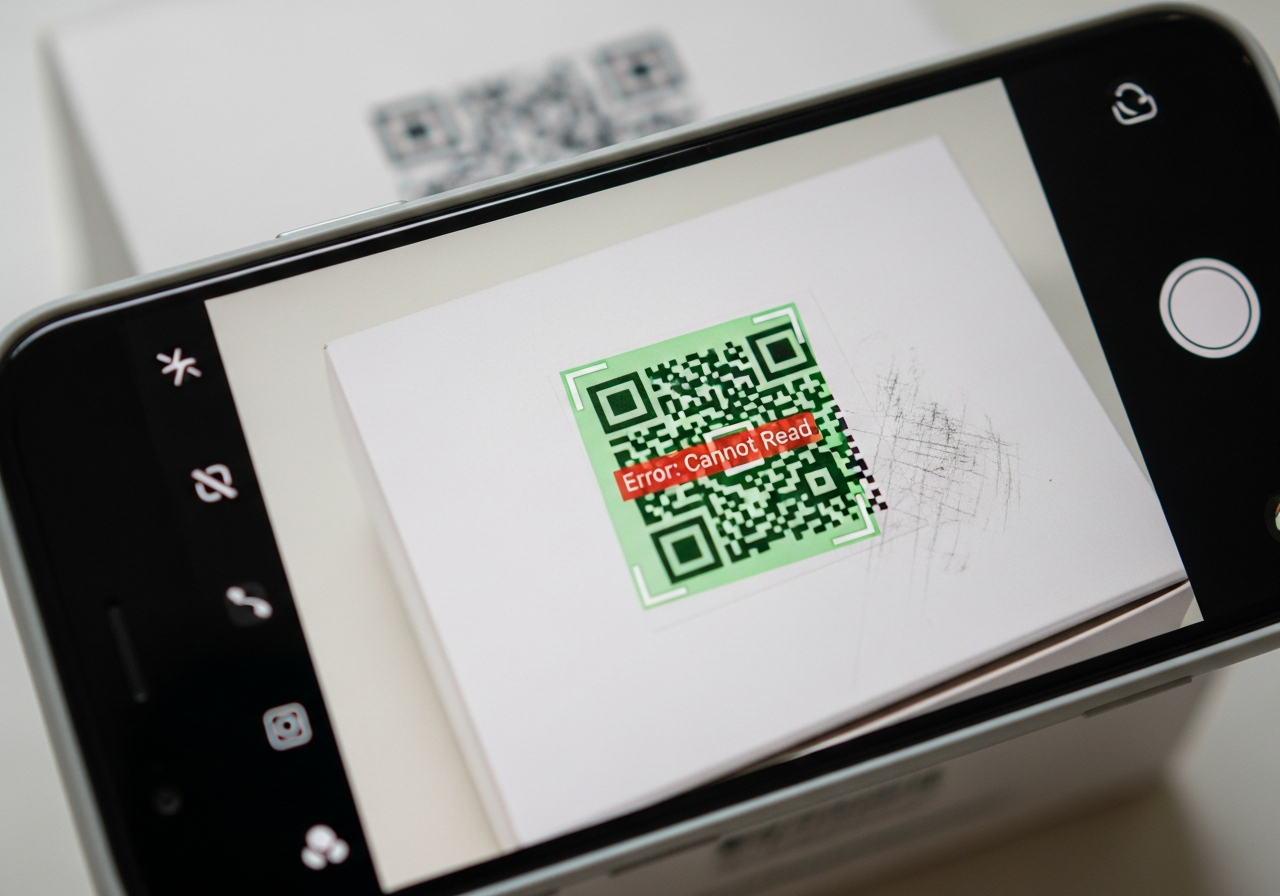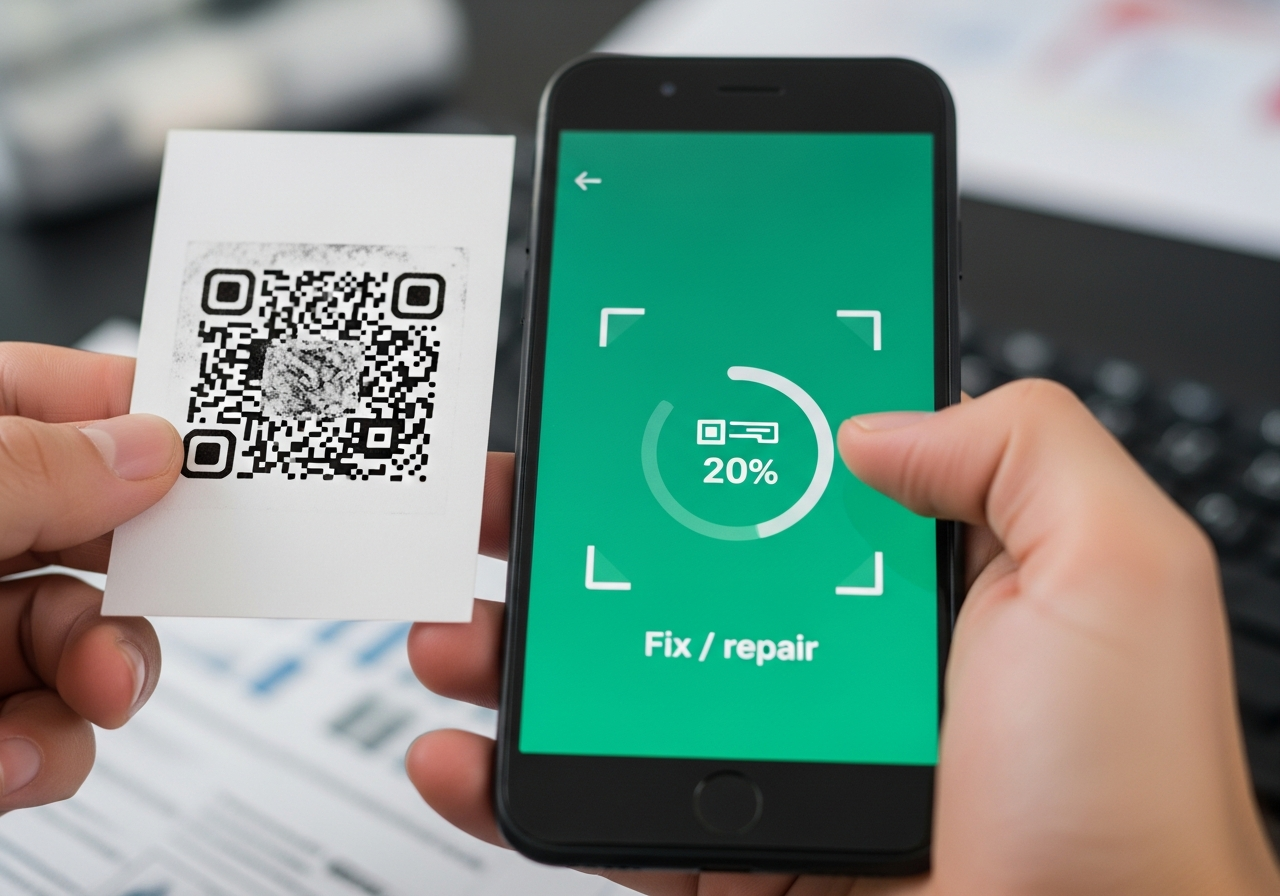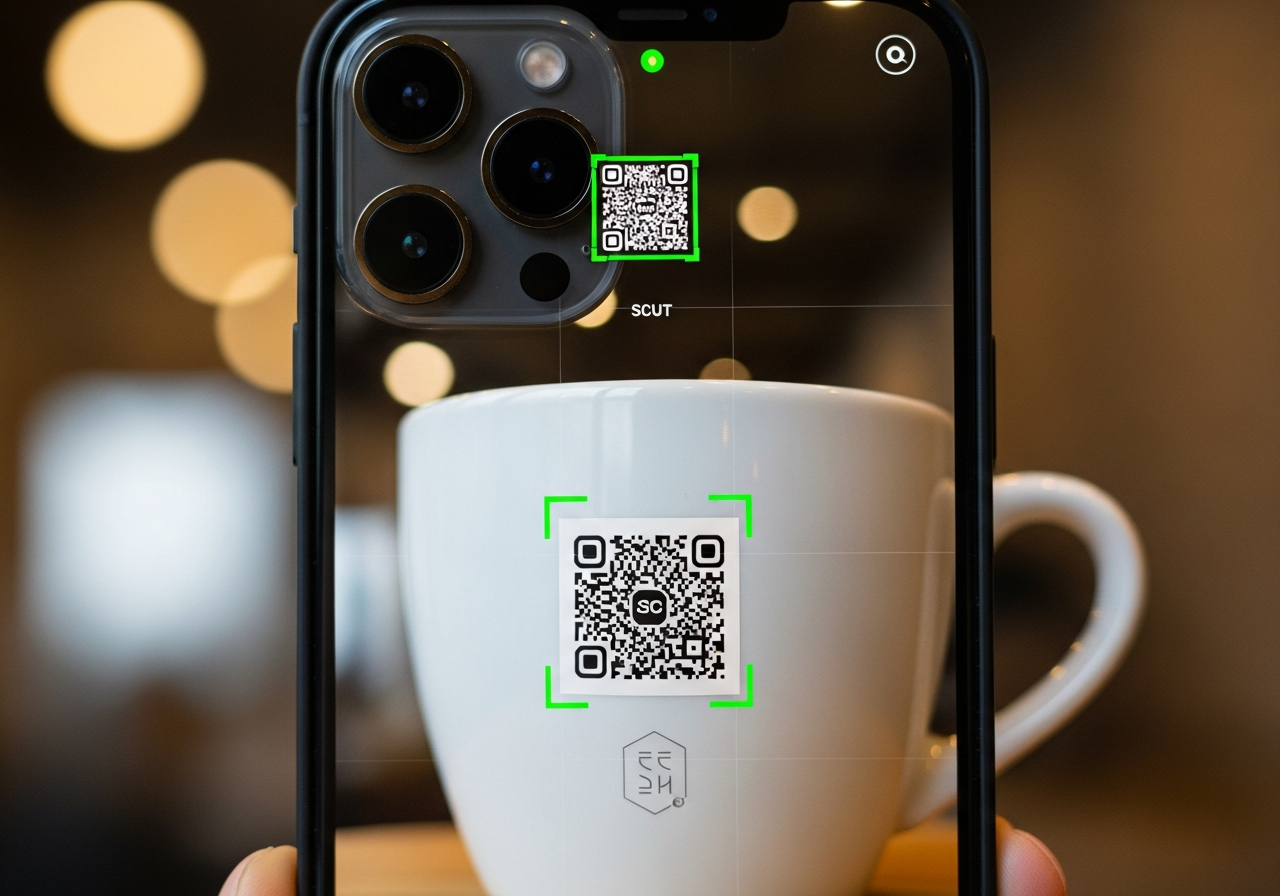

Incorrect sizing causes more failures in printed QR codes than broken links do, and that simple oversight can turn stickers, labels, or decals into wasted print runs. If you manage multi-client campaigns or order custom QR code printing, standard rules should apply to handheld stickers and large signage alike. This guide gives practical sizing guidelines, explains the quiet zone, and describes two quick tests to run before you send files to a QR code printing service.
Key takeaways
Here are the essentials to check before you send a job to print. These points keep runs readable and cost-effective across stickers, labels, and large-format signage.
- Correct sizing matters: use about 2.5 × 2.5 cm as a baseline for handheld stickers and avoid going below 2 × 2 cm. For posters and signage use the 10:1 viewing-distance rule and increase size for high mounting or reflective locations. Always include a four-module quiet zone to avoid read failures on low-resolution prints or curved surfaces.
- Match materials and lamination to the environment: UV-stable white vinyl works for most outdoor stickers, polyester resists solvents and heat, and rigid metals suit permanent asset tags. Choose adhesives and topcoats appropriate to the surface and service life you need. Ask suppliers for outdoor-life testing and photographed proofs on the actual substrate.
- Prepare clean files and test before print: export vector QR artwork when possible and use 300 DPI PNG only when raster is unavoidable. Embed final shortlinks or UTM tags before exporting, and request final-size proofs so module edges stay crisp. Prefer dynamic QR codes so destinations can be updated without reprinting and you can track engagement.
How to size printed qr codes for stickers and signage
Sizing correctly prevents frustrated users and wasted print runs. For handheld scanning, aim for a baseline of 2.5 × 2.5 cm (about 1 × 1 in) and treat 2 × 2 cm as the absolute minimum. Smaller targets fail more often on low-resolution prints, curved surfaces like bottle labels, or when error correction is limited, so plan sizes around your print process and substrate. For additional minimum-size guidance see the minimum QR code size guide.
Include the quiet zone when you set dielines. QR codes require at least four modules of clear space around the artwork to separate the matrix from surrounding graphics, and that empty border increases the printed footprint. Add that margin to your artwork rather than letting production trim it away. For practical examples and module-size recommendations consult Scanova’s minimum-size recommendations.
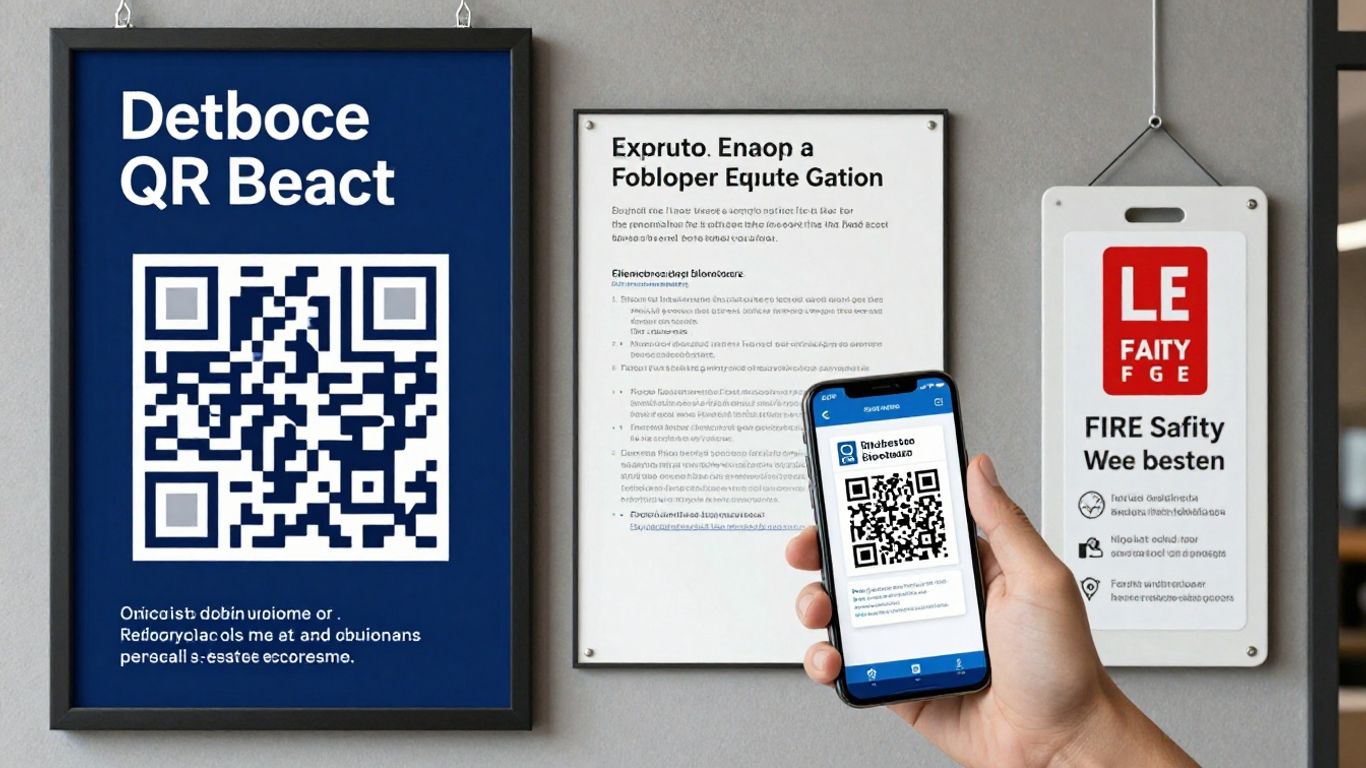
Use the 10:1 rule for distant viewing: divide the viewing distance by 10 to get the side length in centimeters. For example, posters seen from 50–100 cm need a 5–10 cm code and a 2 m sightline wants about 20 cm. Account for mounting height, viewing angle, and glare-prone locations and err on the larger side where lighting or reflections may reduce effective contrast.
Always test before committing to a run: export artwork at the final physical size, print on the actual stock, and scan with both iOS and Android cameras under the lighting you expect. For installed signage, mock up at installation height and perform five scans from expected viewing positions with different phones; if all succeed you can move to production. With sizing and tests complete, choose materials and finishes that preserve scanability outdoors and on curved surfaces.
Choosing materials and laminations for long-term durability
Match the substrate to the environment. White vinyl printed with UV-stable inks is a solid choice for outdoor signage and QR stickers, with an expected service life of roughly 3–5 years when paired with proper lamination and adhesives. For chemical exposure, high heat, or abrasive conditions choose polyester, and specify rigid options such as anodized aluminum for permanent asset tags; paper labels suit only short-life indoor handouts. For practical printing and sticker workflows see the ultimate guide to QR code stickers.
Surface finish and UV protection determine whether printed QR codes remain scannable over time. UV coatings limit fading while lamination prevents abrasion and moisture ingress, which is critical on curved or high-touch surfaces. Avoid micro codes on textured materials; slightly larger codes scan more reliably across camera quality and lighting conditions. For a detailed comparison of paper versus synthetic materials and their durability, read this paper vs. synthetic label comparison.
Adhesive choice is as important as the face material. Use permanent outdoor adhesives for metals and plastics, removable adhesives for short indoor campaigns, and specialty adhesives for textured, painted, or low-energy surfaces. Request adhesive type, tack and peel ratings, and operating temperature ranges so decals stick where required without lifting or leaving residue.
Design and file-prep to ensure scan reliability
Export QR artwork as vector PDF, SVG, or EPS whenever possible so module edges remain crisp at print size. If raster is unavoidable, use PNG at 300 DPI at the final printed dimensions and avoid JPEG compression. Embed final shortlinks or UTM parameters into the encoded URL before exporting and supply the vector files to your printing service for the cleanest output.
Design for strong contrast and an intact quiet zone: use dark modules on a light background, avoid gradients or patterned backgrounds that interfere with finder patterns, and ensure a blank border at least four modules wide. Keep layout choices simple and test at the final size to reduce scan failures when users encounter printed QR codes in the field. Simple layouts and clean margins matter more than a clever background when reliability is the goal.
Logos and brand marks can sit in the center, but increase error correction and keep logos small so scanners still read the code reliably. Never cover finder or timing patterns and validate any branded design with a printed proof at final size, running at least ten scan attempts across devices and lighting conditions. For production handoff include vector artwork, final encoded URLs, and a test sheet with pass/fail notes. Learn more about Branded QR Assets with Built-In Calls to Action — Powered by Xcan It for guidance on combining branding with scan reliability.
Production choices and supplier selection: sequential labels, tamper evidence and pricing
When evaluating printers, confirm they support variable-data printing for sequential QR labels and request final-size proofs to verify scan reliability. Specify tamper-evident or resin-dome options if you need added durability or security, and consider metal tags for permanently mounted assets. Ask suppliers for photographed in-situ proofs so campaign schedules do not slip and production quality matches test results.
Understand the cost drivers to compare like for like: material and adhesive type, protection (laminate, UV, resin dome, tamper varnish), size and print resolution (300 DPI minimum for small codes), and quantity with tiered pricing. Request itemized quotes so you can weigh unit cost against included services such as proofs, adhesive certification, and photographed tests. Check for any plate/setup or variable-data fees before finalizing the order.
- Ordering checklist: confirm final size including the quiet zone, provide vector exports or 300 DPI PNGs, specify adhesive and laminate, and request a final-size sample proof. Require an in-situ test and a scan-approval sign-off from two team members to avoid surprises. This reduces the chance of costly reprints.
- On receipt: run a QA protocol that includes random scan tests from the first 50 labels, inspect for print defects and adhesive failure, and document exceptions for immediate replacement. Assign one team member to log results and a second for sign-off so accountability is clear. Maintain a log that links physical batches to encoded destinations for traceability.
With a reliable supplier and a QA checklist in place you can scale print runs confidently. The next step is correct installation and ongoing maintenance at the point of use to preserve scanability and adhesive performance.
Case study: how Xcan It’s dynamic codes lifted scans 40% in a print campaign
A regional retail promotion used printed brochures and exterior posters with QR codes to drive a short-term offer. Half the assets carried static links baked into the artwork and half used Xcan It’s dynamic codes that redirected to a single live landing page we could update during the run. Xcan It analytics tracked scan count, device type, location, and on-page conversions so the team could adjust printing choices and placements in near real time.
Assets using dynamic codes achieved a 40 percent higher scan rate than static links. The improvement came from timely content updates that matched foot-traffic patterns, rapid switches to mobile-first landing pages after early device data showed many scans came from phones, and quick CTA tweaks without any reprint. Analytics also highlighted underperforming poster locations so crews could move or reorient low-performing boards mid-run. For a deeper comparison, see Which Performs Better: Xcan.it vs QR Code Generator.
Make printed qr codes scan reliably and last
Reliable printed QR codes begin with correct sizing, appropriate materials, and clean file preparation. Size codes to match expected scan distance, preserve the quiet zone and high contrast, and pick substrates and lamination that suit exposure. Validate every asset with final-size proofs and multi-device scans to avoid wasted runs and unhappy end users.
Turn prints into measurable, editable campaigns by using dynamic QR destinations and a central dashboard so you can change targets without reprinting and capture engagement data across assets. Before ordering a full run, print a sample on your chosen substrate, laminate if required, and scan with at least three different phones from expected distances; lock in size and material only after those tests pass. If you want to test dynamic printed QR codes at scale, request a demo or trial of Xcan It and apply these guidelines to reduce reprints, cut waste, and measure real engagement. For more on the advantages of using dynamic QR codes over static ones, see our dedicated write-up.