
This guide walks you through the straightforward process of managing users within your Xcan It account. Whether you’re adding new team members, updating existing details, or looking to personalise your QR code setup, we’ve got you covered. Keep your dashboard organised and your team connected with these easy steps.
Key Takeaways
- Easily add, edit, and delete users from your Xcan It dashboard.
- Update user information like names, emails, and passwords efficiently.
- Resend login details to existing users without needing a new account.
- Customise your QR code prefix for better brand recognition and organisation.
- Keep your user and branch settings tidy for a smoother workflow.
Managing Your Team: Adding and Editing Users
Keeping your team organised within Xcan It is pretty simple. When you head over to the users section, you’ll see a list of everyone on your team. From this spot, you can do a few things: edit someone’s details, remove them if they’ve moved on, or add a new person to the crew.
Editing an Existing User
To tweak an existing user’s information, just click the ‘edit’ link right there on their row. This opens up the edit screen. Here, you can change things like their username, first name, password, or email address. It’s also super handy if you need to resend their login details. This is a real time-saver if someone leaves and you need to pass their login info to a new person, without having to buy an extra user spot.
Customising Your QR Code Prefix
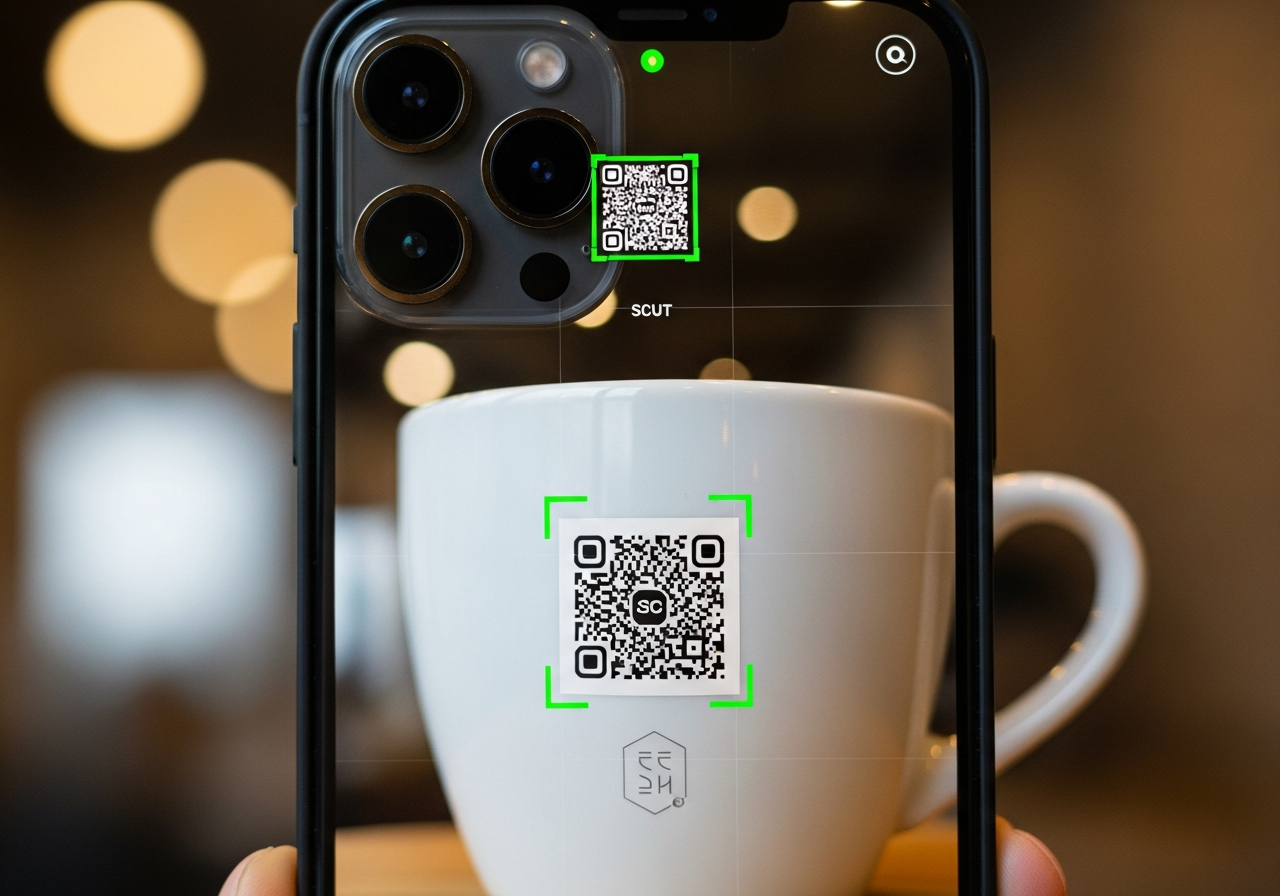
While you’re on this edit screen, you can also update your QR code prefix. Think of this prefix as a short, four-character code made of letters and numbers. It acts as a unique ID for all the QR codes your business creates. The system usually picks a random one for you, but you can change it to something that fits your brand better, something more memorable. For instance, if your business is called ‘Scanit’, you might change the prefix to ‘SCAN’.
This small change actually makes a big difference:
- Brand Recognition: Your team can instantly tell that a QR code belongs to your company, not a supplier or another branch.
- Better Organisation: Having a consistent prefix makes it much easier to sort, track, and find your QR codes, especially if you’re dealing with hundreds of them.
Once you’ve made your changes, hit ‘save’. Any new QR codes you create from then on will automatically use your new custom prefix. Clicking ‘save changes’ will also take you back to the main user list.
Adding a New User
Ready to bring someone new onto the team? Just click the ‘add user’ button. You’ll be guided through the process, which includes a link to our payment setup. Once that’s sorted, you can enter the new user’s details. It’s pretty much the same as editing a user. When you click ‘save’, an email gets sent to the new user with the details they need to log in and access their own dashboard. Easy peasy.